Drawing on paths computed by steps/simulation (Processing)
2023-01-07
Sometimes what you need to draw requires some computation by steps. For example if you want to draw particles following a flow field, or want to use positions obtained from another kind of simulation. Saving a frame at each step doesn’t give you a lot of control. This tutorial is about a basic technique to tackle this problem. For some people, no need to read this tutorial if this is clear to you: this is about doing linear interpolation on a list of values to get a continuous function. This is done very often, maybe it’s nice to just show that it is a very normal thing to do.
Let’s say a simulation computes a list of positions. It’s possible to do all of the simulation steps once in setup(), and then use this data in draw() (or rather draw_() by using the template from the previous tutorial) to obtain positions at any time t, continuous, without any more computation with steps. Because you can draw for any time t like this, the motion blur from the previous tutorial can be used without problem.
Example with bouncing ball
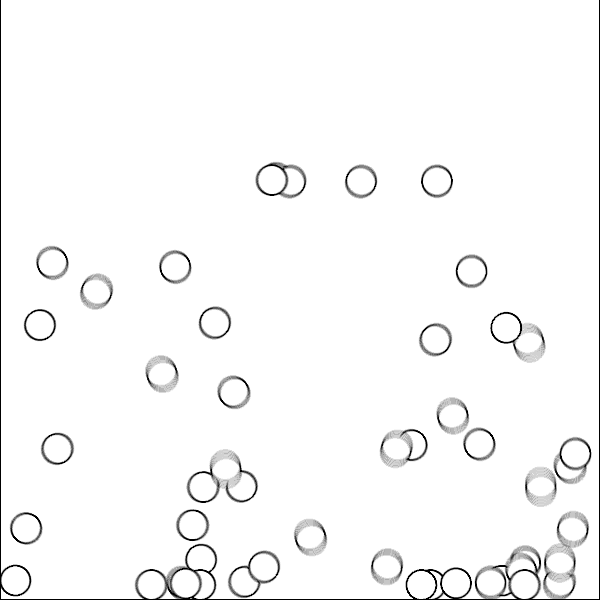
Let’s use the example of a bouncing ball simulation and let’s make this gif first:

The code template of the previous tutorial will be used.
Here’s a Ball class that does a simulation to record positions when you create a new one.
It’s maybe a bit long but it’s not required to understand the simulation algorithm to get the point of the tutorial. We get a list of positions (recordedPositions) of the path of the ball when creating one. We won’t be saving any frame during the simulation.
Now let’s have a show(float p) member function of Ball, containing the main thing I want to show in this tutorial.
Explanation:
The parameter p between 0 and 1 indicates the progression on the path: 0 at start, 1 at the end.
p=((p%1)+1)%1 is a kind of habit (most often not necessary) to make sure that p is in [0,1[, with a loop, handling the problem of negative modulo for negative p.
The idea to get a position of the ball from p is to first map p to the range of the indices of the recordedPositions list. The variable floatIndex is the result (maybe not the best name but it’s a float that has the indices range).
Then we fall between two recorded positions and use linear interpolation to have the position between them. The lerpParameter variable has a value between 0 and 1 and indicates if we are closer to the previous recorded position or the next one.
Obtaining this lerpedPosition from p, where p is continuous, is the point of this tutorial. The rest of the show function just uses it to draw the ball.
To draw the gif, we also have the code below:
And to render it with the template, these settings:
The result was already shown:
Here is the full code that’s run: link
Using the replacement technique
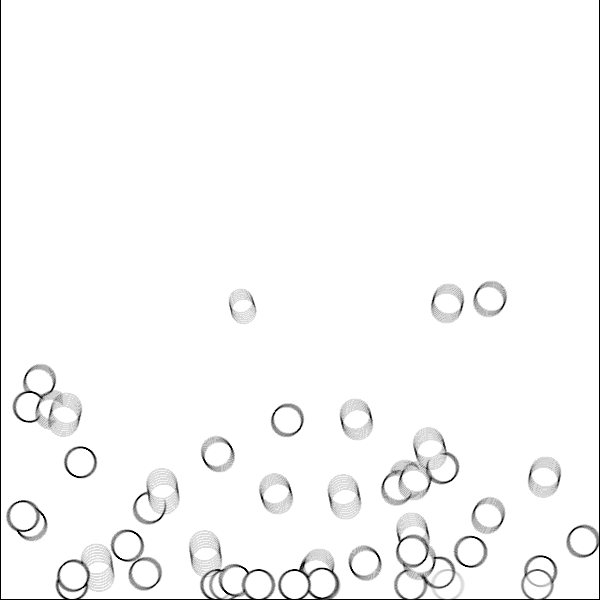
Let’s do a quite quick change to have more balls and use replacement technique to get this:
For the replacement technique, we simply add this member function to the Ball class:
Also to have many paths, an array is used, like this:
The full code can be found here. The number of frames is now set to only 80.
To improve the animation we can modify the show(float p) function so that balls fade away and start from a zero radius (very few changes):
Let’s also use time with a random offset for each ball so that they don’t appear at the same time:
(in Ball class)
Here’s the resulting gif:
Its full code can be found here.
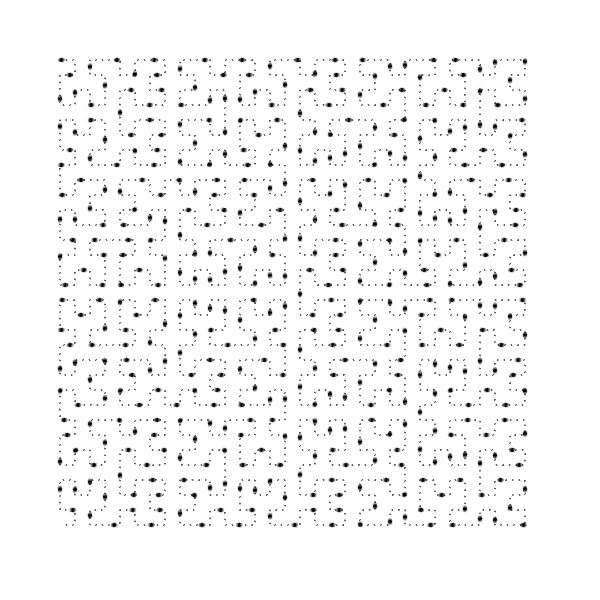
Another example with Hilbert curve
Sometimes you don’t simulate something but still have a path based on a list of positions. That’s what this other example is about. The following gif is made:
If you don’t know the Hilbert curve, you can check out its wikipedia article.
From that page we can have some code for position on the path of the curve in function of an index (and the size of the curve), it’s the d2xy function below (which I haven’t tried to understand yet!):
(using the “rot” function)
Below is some code to choose the parameters of the curve and have pixel position in function of an index:
The positions obtained from the above function are the positions of the points that define the lines of the curve.
Now here comes the same trick as the bouncing ball gif to get position in function of a continuous parameter p between 0 and 1.
Now some code using it to draw a still curve with lots of small dots, and then another function to draw bigger dots moving on it with replacement technique:
We simply use those functions like this:
The entire code for the gif reminded below can be found here.
Some animations using that kind of technique technique, with their commented code on Github: