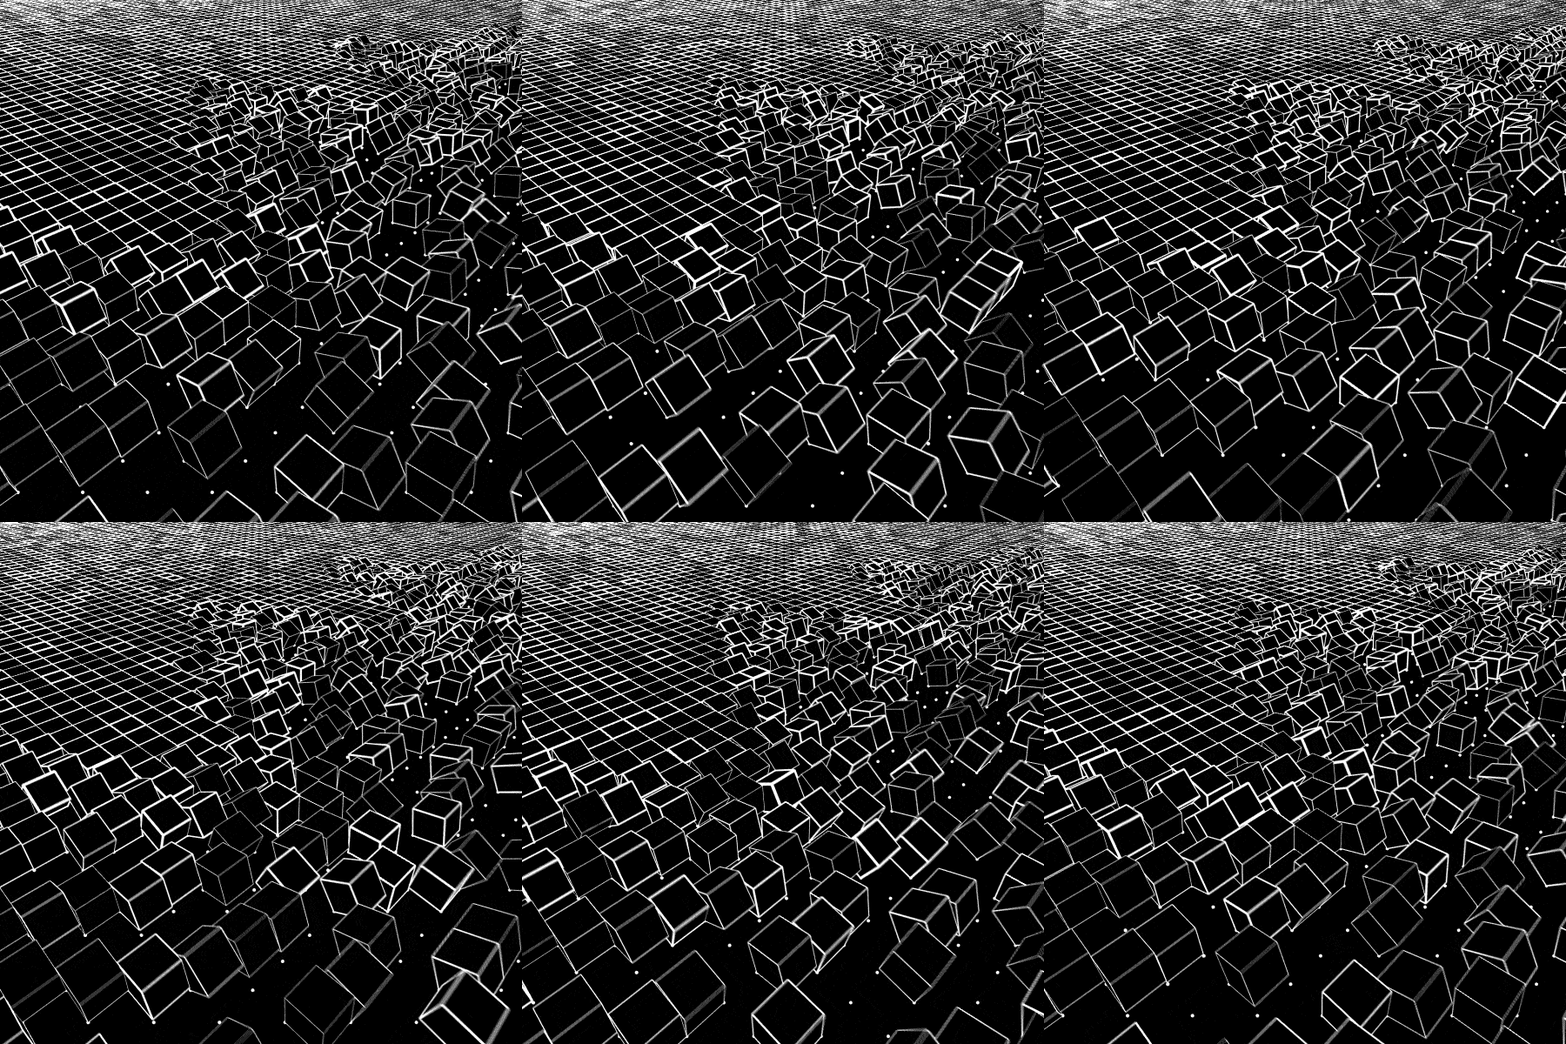
Replacement technique with 2D grid of objects (Processing)
2021-09-04
The replacement technique was already explained and illustrated in the previous tutorial. This one shows both how to use it with objects that have random parameters, and also with a 2D grid structure: something I have used a lot.
I chose this gif as example for this tutorial:
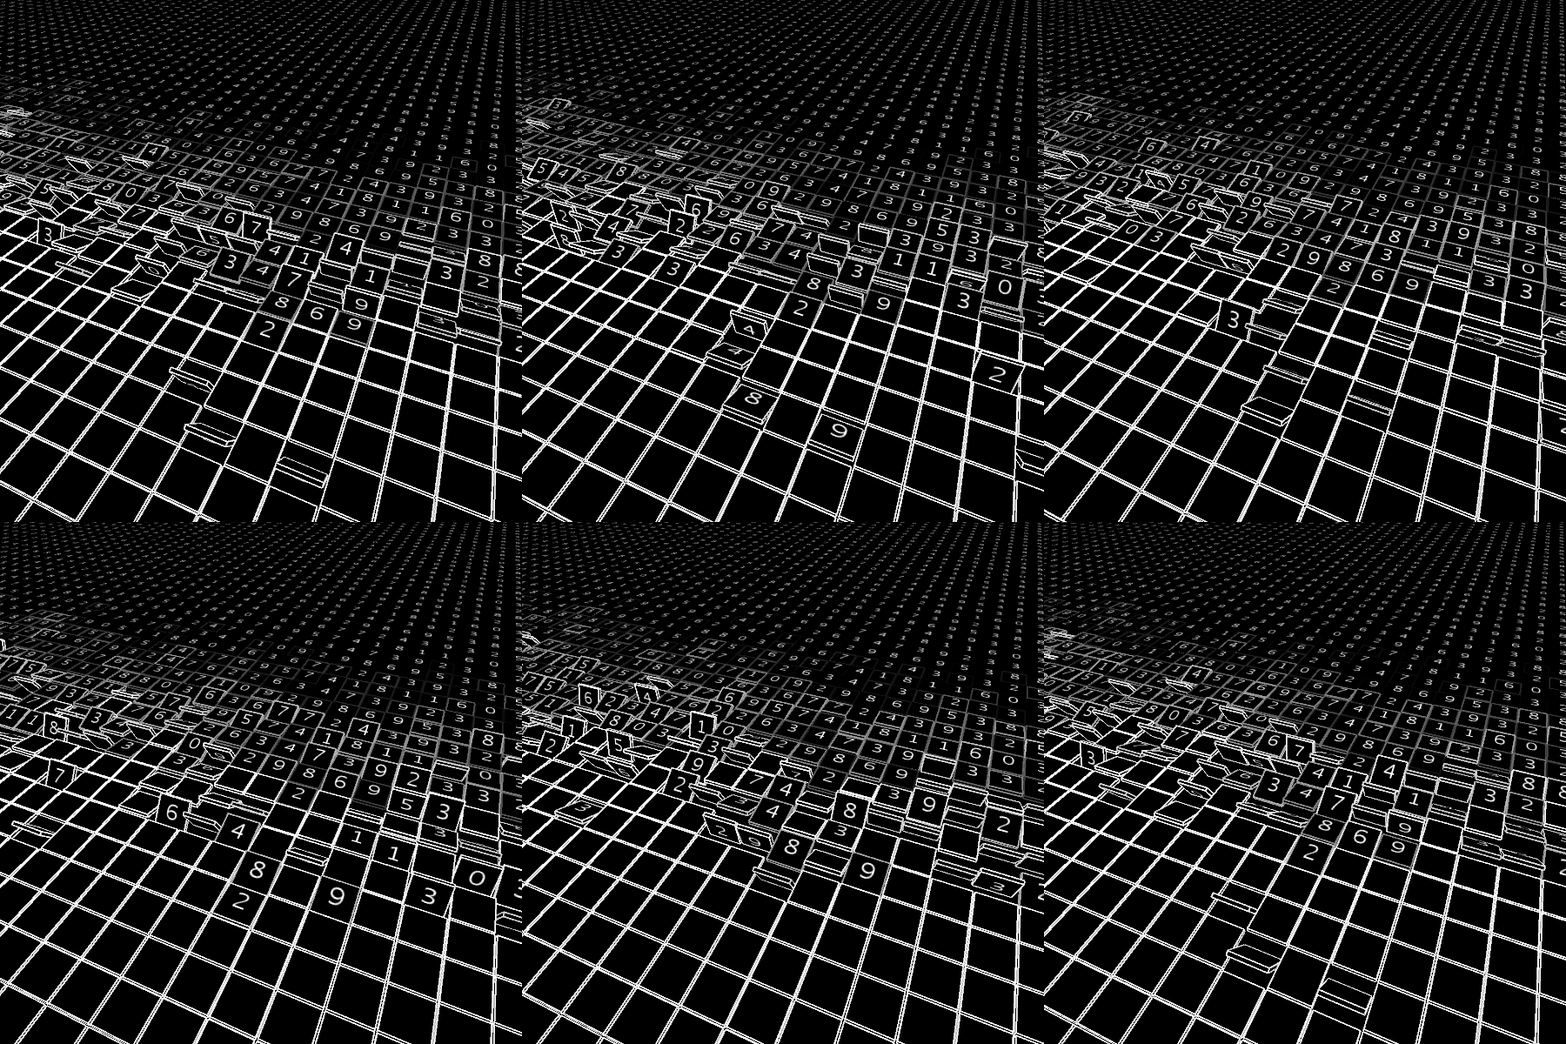
In the gif the positions of the tiles on one axis (x-axis) never change, and it moves along another axis (y-axis). We’re going to use a 2D grid of tiles of size 70 x 4. The idea is that every object (tile) will take the place 4 tile later along y-axis at the end of the loop.
First let’s make the grid of tiles and show them.
Here is some code to draw that:
There’s already the setup to render the animation although the tiles don’t move yet. I also already rotated the view as it is at the end. I made gifs at 50 fps (delay=2). L defines the size of the tiles.
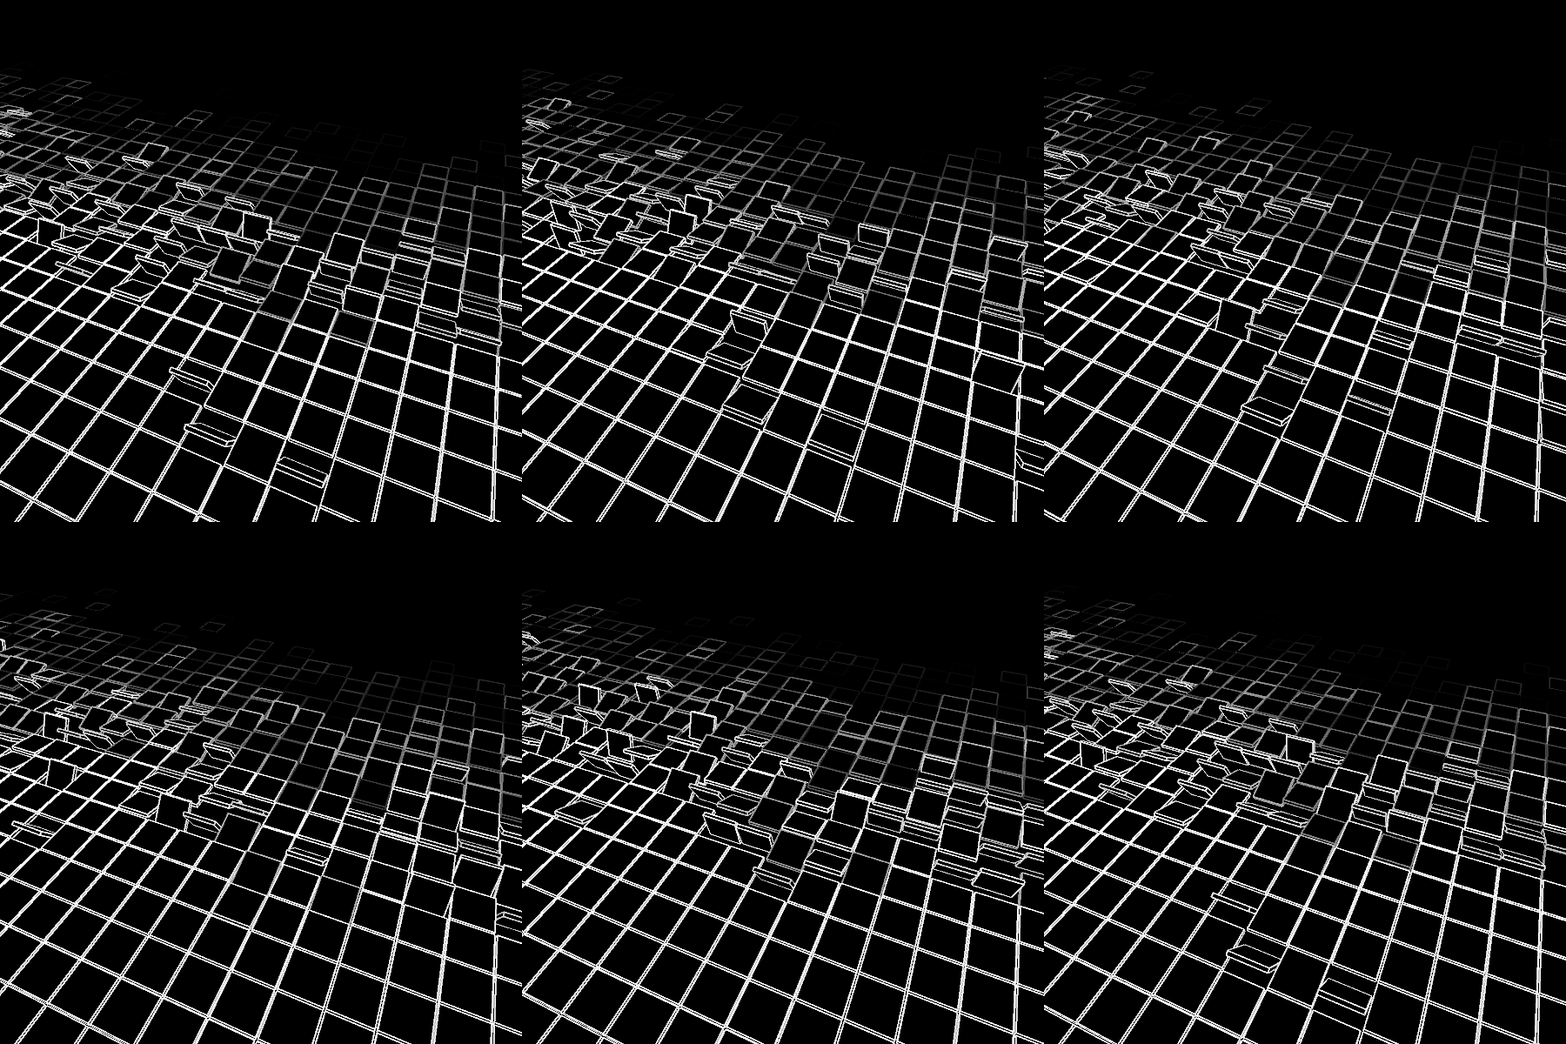
So far it looks like this:
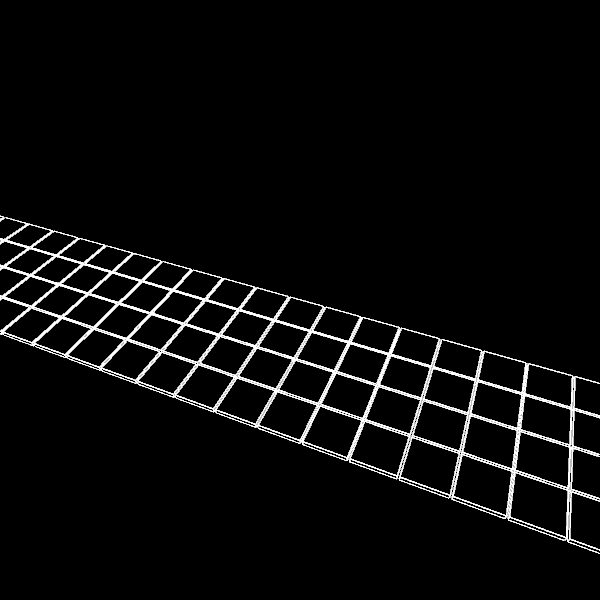
Now let’s use replacement technique with our grid taking the next grid position when time is increased by 1.
In Tile class:
We get something like this:
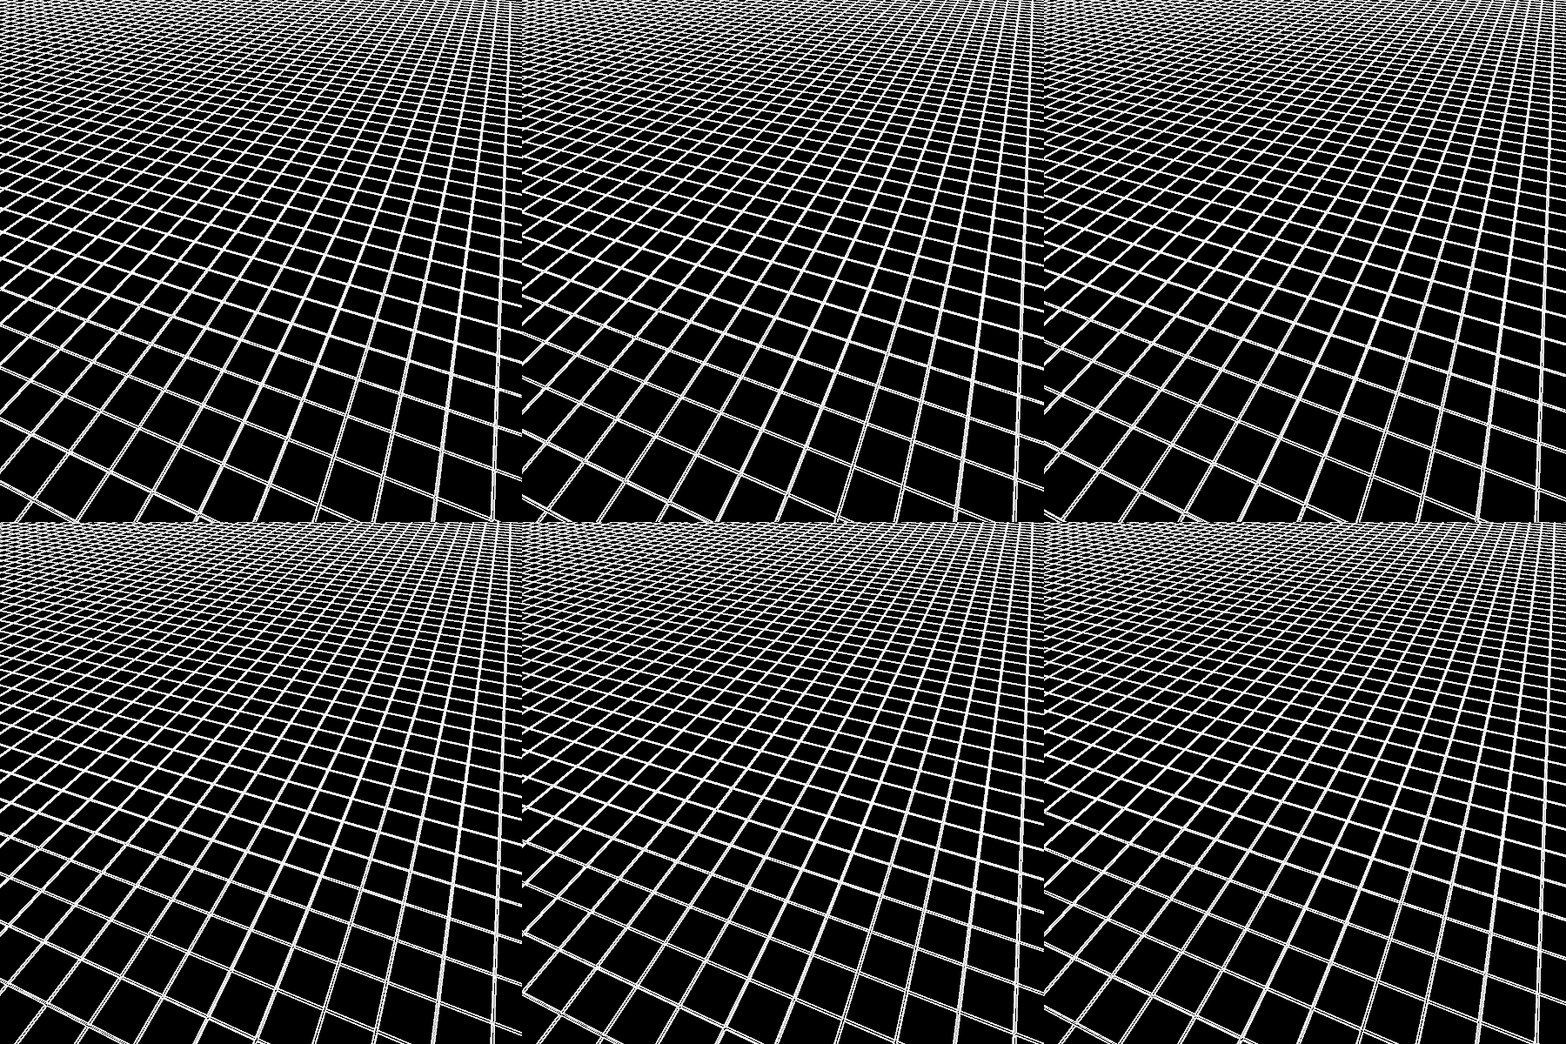
It does not look amazing but we’ve got a nice structure behind and a large part of the work is done.
Let’s introduce a delay member in the Tile class that will determine when a tile starts to flip:
The variable changer is 0 before p=delay, then its value increases to 1 until p=delay+2.5, then its value stays at 1.
So this is used to rotate the tiles around X axis. The result looks like this:
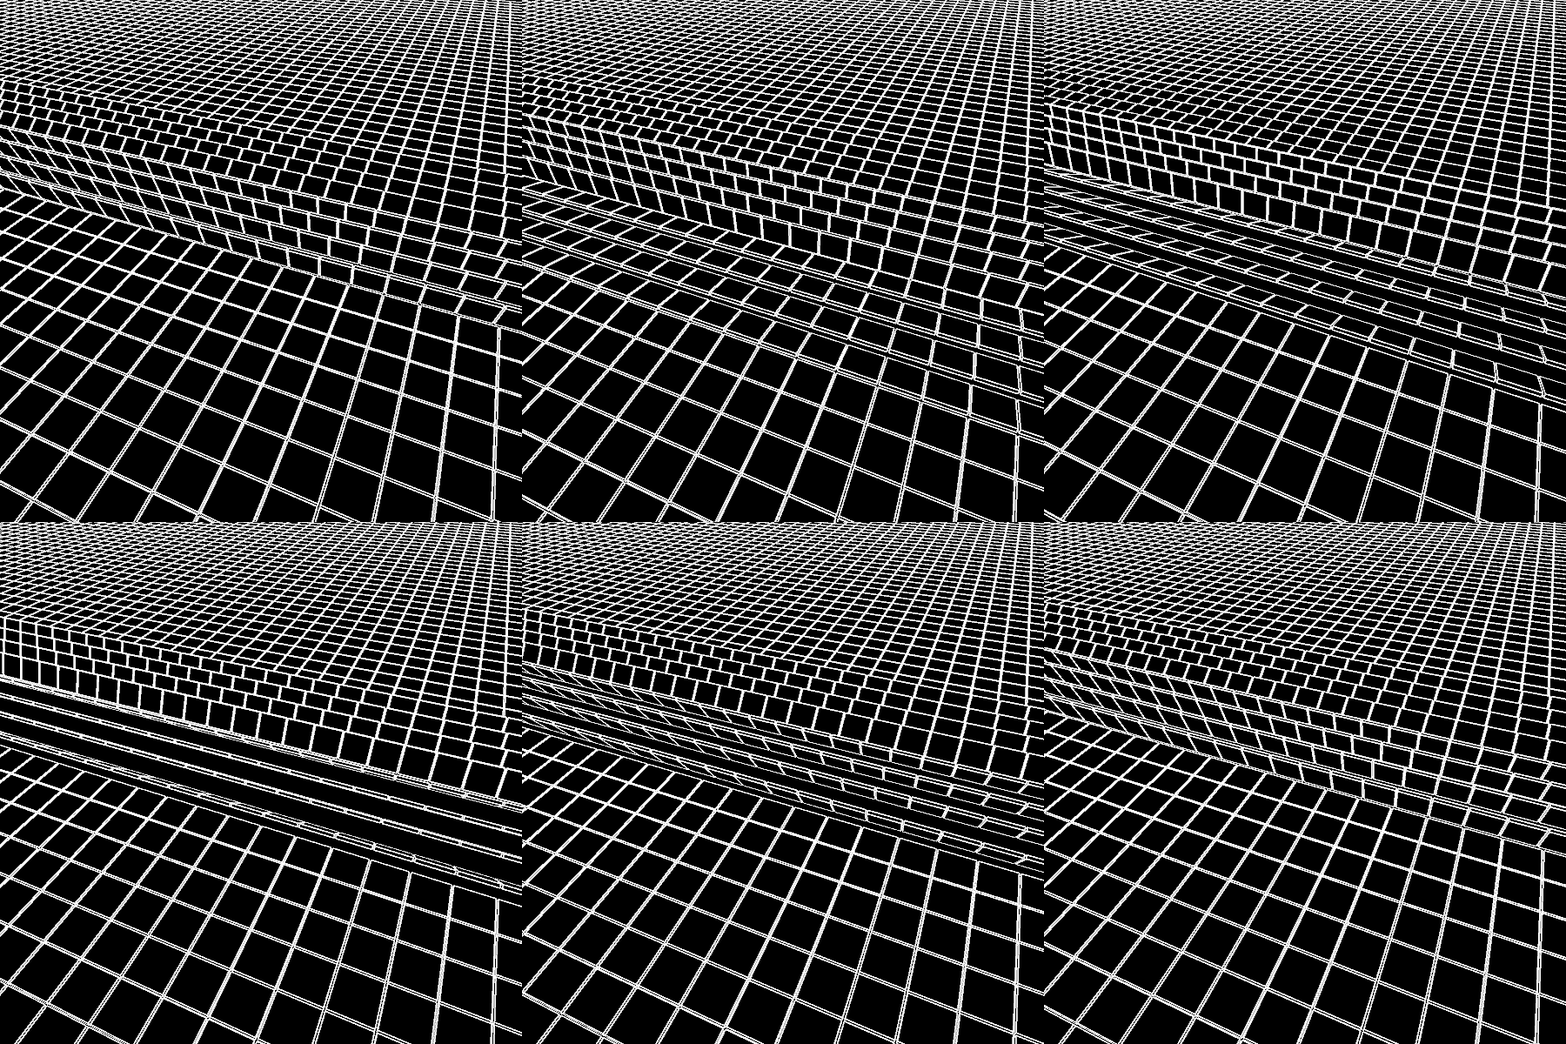
Let’s try to have a delay that changes according to the y index so that the 4x70 grid structure is less apparent.
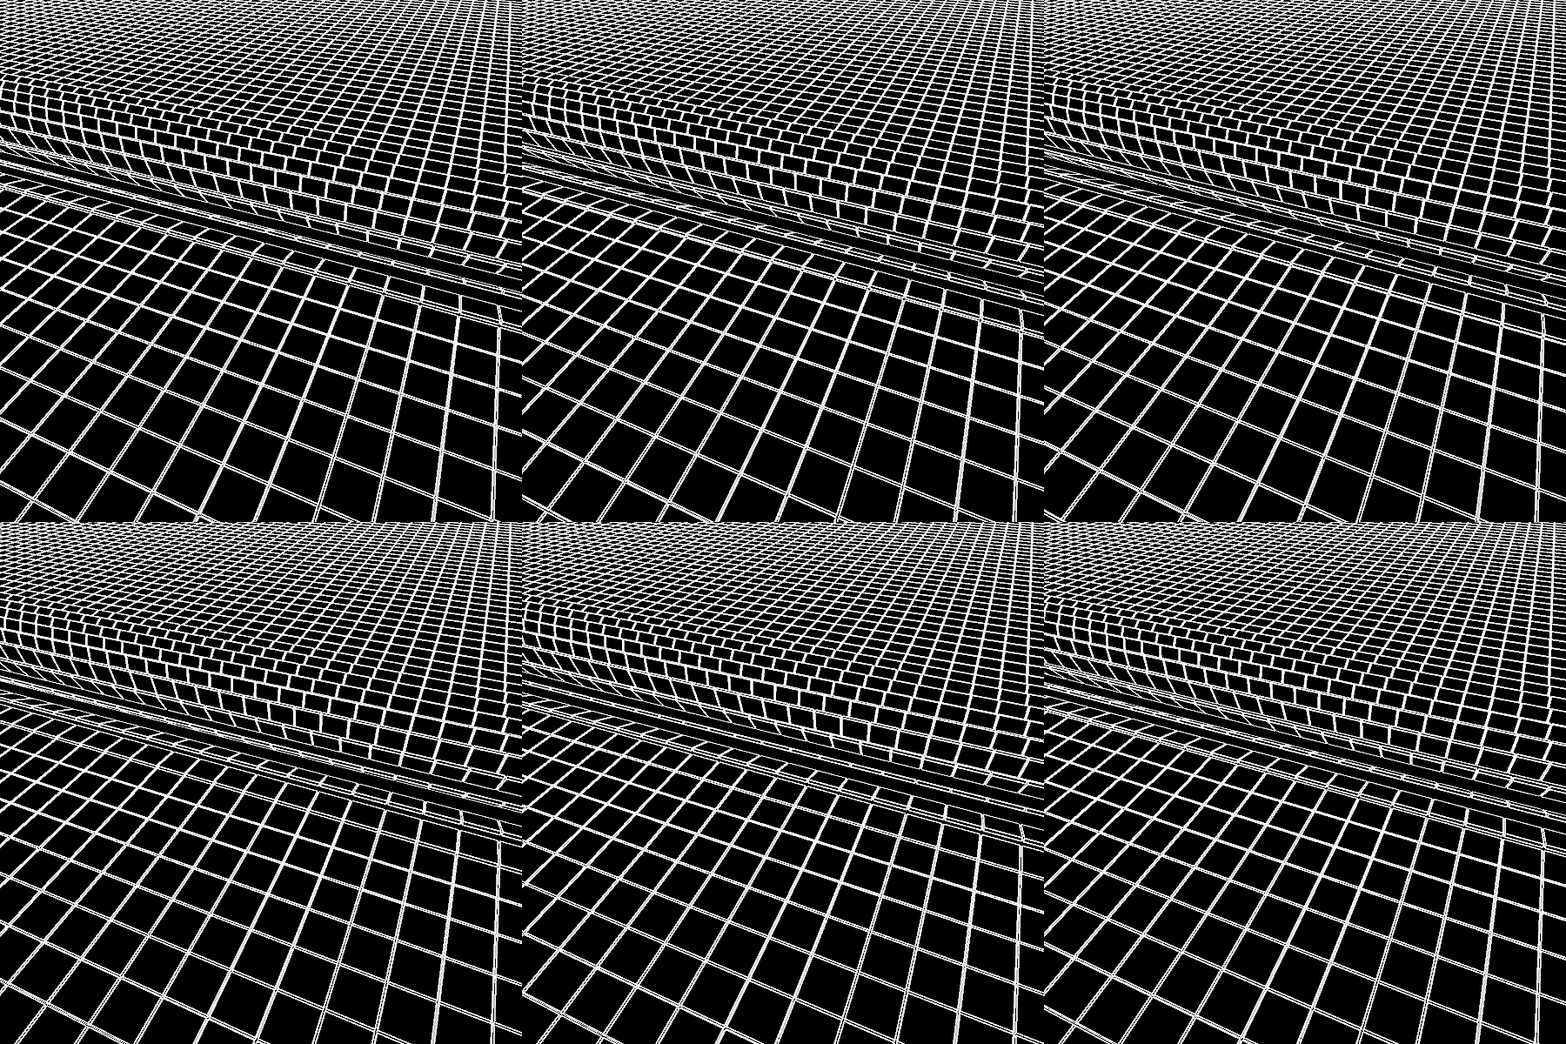
Maybe I can make this formula logical by saying that when y and yIndex increase, we want the tile to move later, so with more delay.
The fix looks like this:
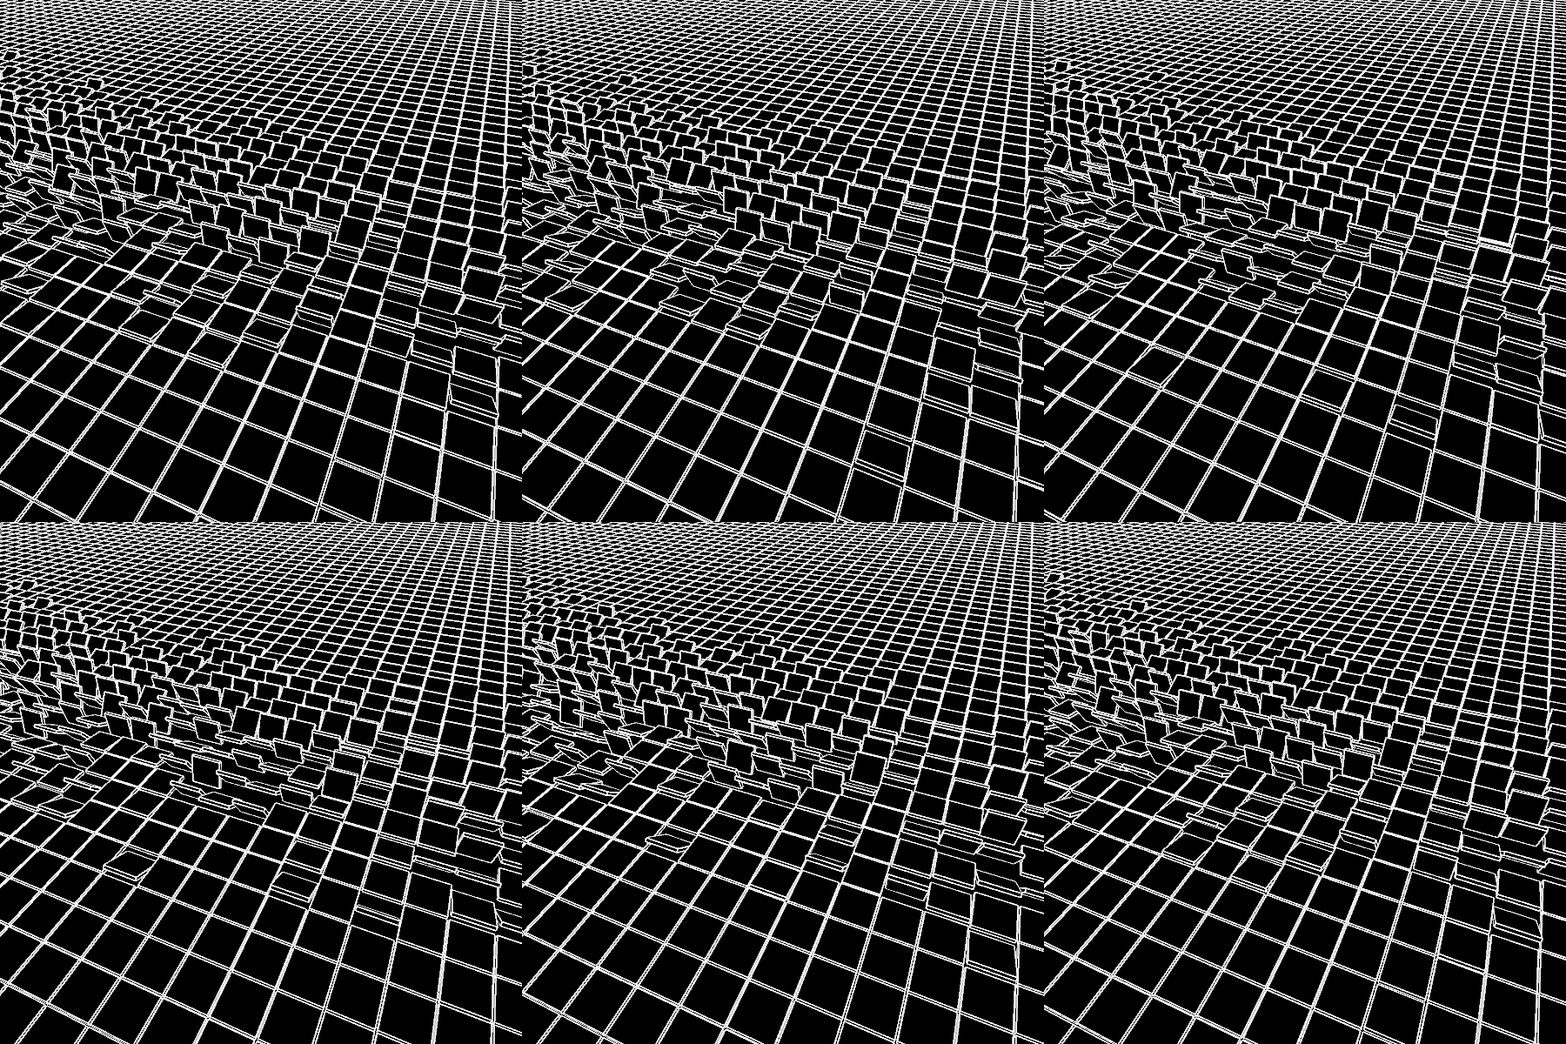
Now let’s add some gaussian noise to the delay of each tile to get something that looks more complex (and by the way the delay is a bit decreased with a constant).
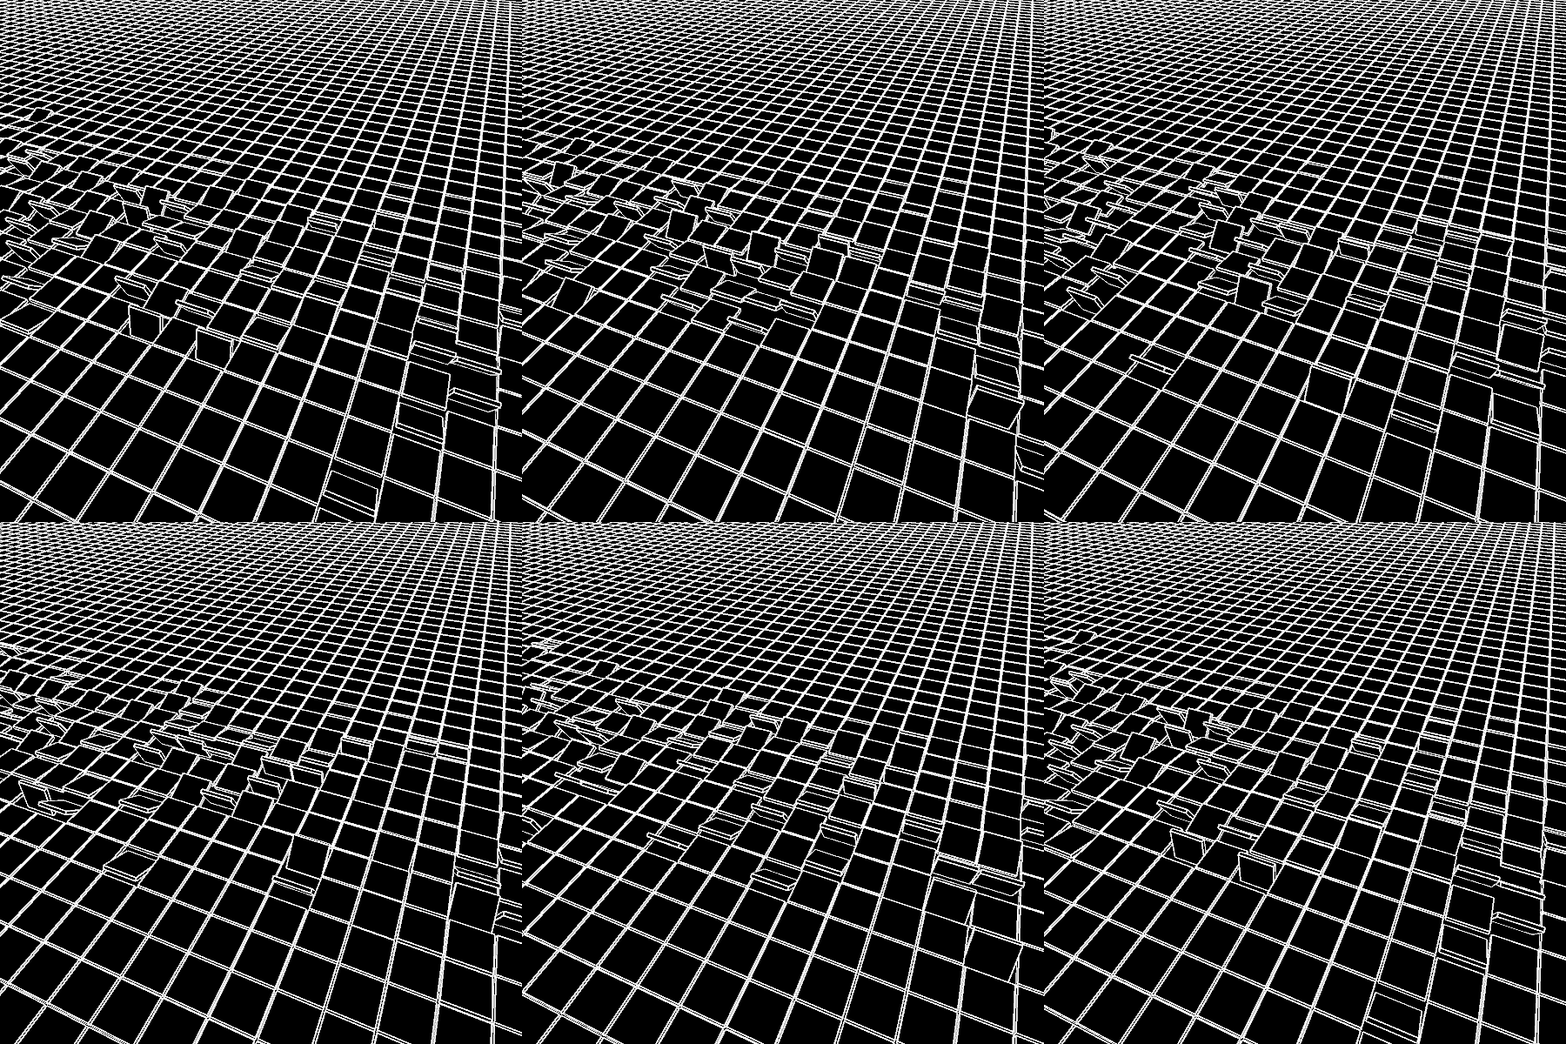
To make this a bit more exciting we can use easing functions, you can find some on this page.
Easing functions basically distort values between 0 and 1 and can be useful to get nice transitions. Here it’s directly applied to the changer variable.
Then I’ve done something with colors:
(note: changer variable, and not elasticChanger, is used to change colors. That’s why I use two different variables)
Here is the result:
Because we can do more random stuff for each object than the gaussian noise, I thought about using different digits. You could also give a random color to each tile, random different easing, random size/shape, etc…
The Tile class with the digits (very few changes):

One thing I sometimes do is to have something in each object that changes with 1D noise and the “p” variable in this code (and with a different seed for each object).
Important: The “changer” thing that is used here to trigger something is not necessary at all for 2D grid replacement loops: objects are more generally changing with the parameter p.
The grid is a quite abstract structure, it doesn’t have to look like as much as a grid as here, and I use the same technique to make some tunnel gifs.
Thanks for reading and I hope you found this interesting or helpful.
Here is the entire code for the above finished gif of this tutorial:
Here’s a pretty similar gif I made:
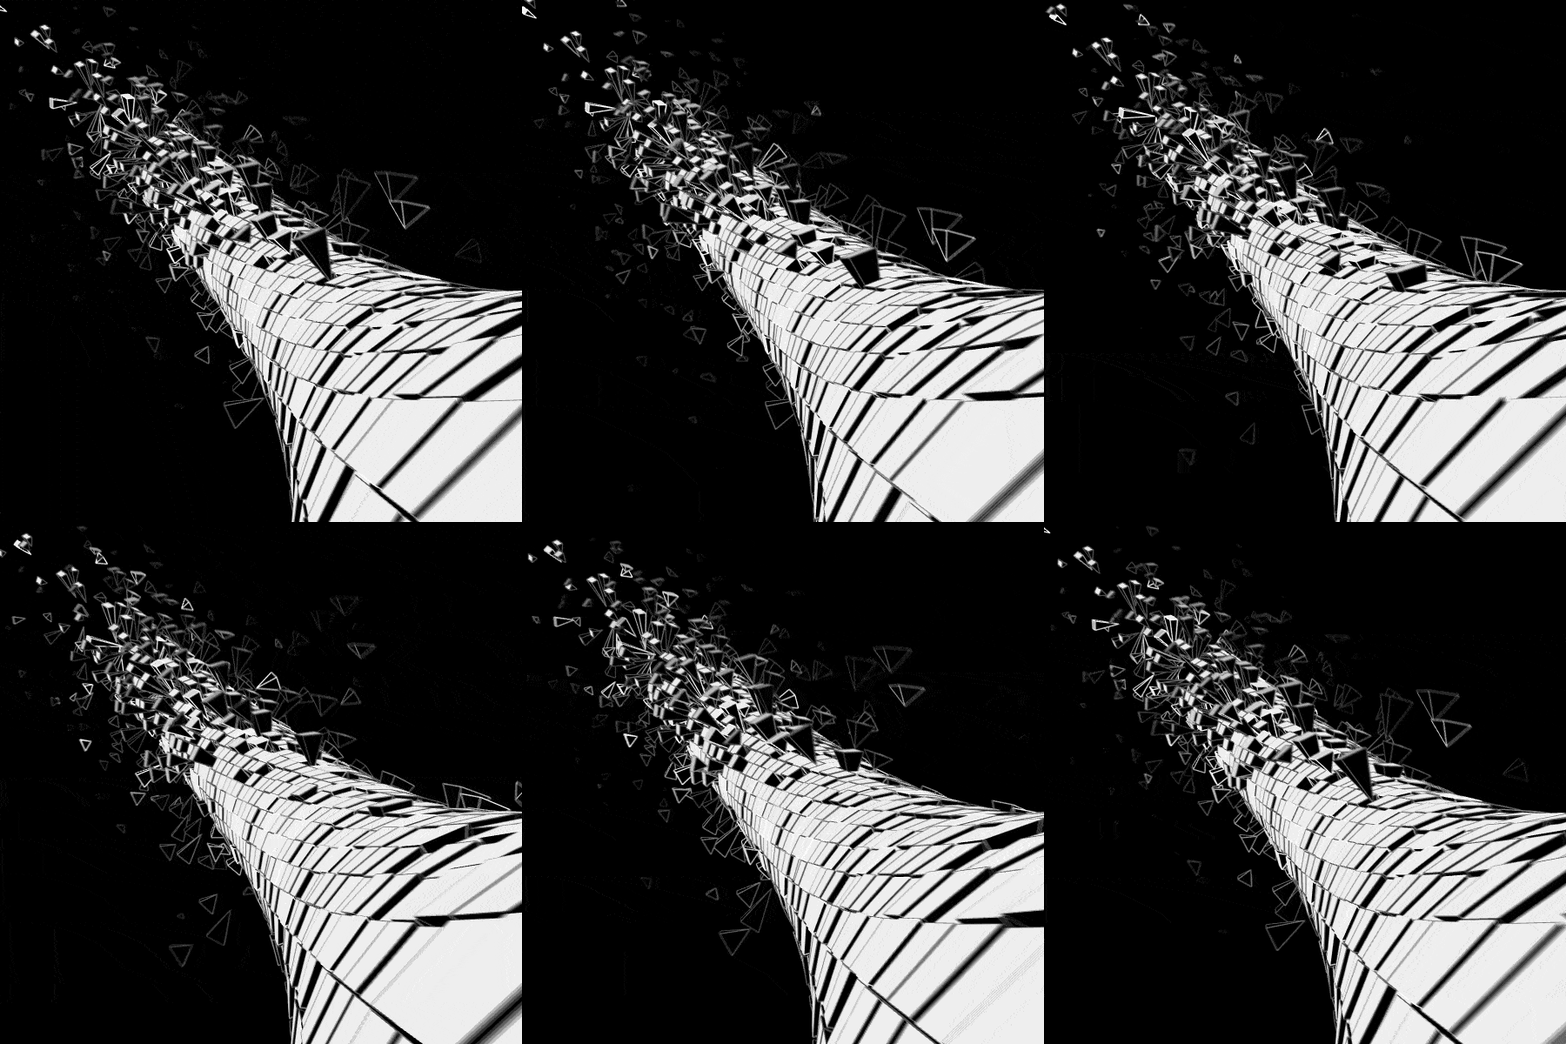
Also this one:
